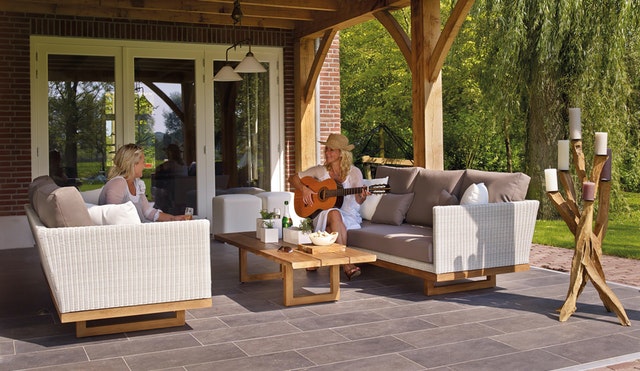
 Concrete Patio Costs Introduction: If you are searching for the article that gives you all the information about the budgets and the working scenario upon the concrete patio. If yes, then stop searching. We gave you all the stuff regarding the concrete patio, and it's related. If you want the most inexpensive and durable backyard patios, then you can use a concrete slab. I know concrete slab is dull and mundane, but you can easily make it look more expensive and rare with some right treatment. This flat-slab turns in rare and best quality textures very quickly. The reason is that professionals of the field add the color and feel so that your patios like stone and brick. Let's have a look at the installment of the courtyard and its cost. Cost Upon Concrete Patio Do you know most people spent more than $2000 for a new patio installation, this high price is because of location and sizing? In simple words, we can say that the whole concrete patio depends on the site, local codes, stamps, colors, and designs of the courtyard. If we talk about the average cost for patio for the 12 x 12, that is about $1700 or $12 per square foot. Hence, the typical concrete range depends on design color and textures, which is $6 to $16 per square foot. Before deciding about the concrete patio, first, look at the available sources and compare each with prices. Patio Size The patio's size is one of the most critical and essential parts consider as it tells the volume required for the project. The concrete is the material sold out by the cubic yard and needed more to fill the project. The base's cost is also determined by the size of the patio as the bottom is the layer of material used for the build. If you invest much money for patio, it makes you comfortable in the winter season when freezes and thawing cause the crack. Patio Location One thing is essential for the patio installation: the information on soil quality slop of the property and labor requirement. Just imagine that a concrete mixer truck cannot reach into the site to pour it, which ultimately adds to the cost of labor. Hence a deeper base for concrete patio necessary just because of its location. Cost for the Concrete Concrete is one of the most sold materials. It runs typically around the $113 per cubic yard, which is average as a 2000 psi mix. However, according to the region, the cost must be varied, the distance to deliver the concrete, some sort of mixing, and the amount of concrete which your order. There is some additional cost on the way while the concrete patio is installing like reinforcement, forms, and expansion joins. Conclusion:This is all about the concrete patio, and it's cost, in this article you notice how clearly step by step we mention each and everything. So if you like this information and it enhances your knowledge, then its time to share this with others, which may give new ideas to them. 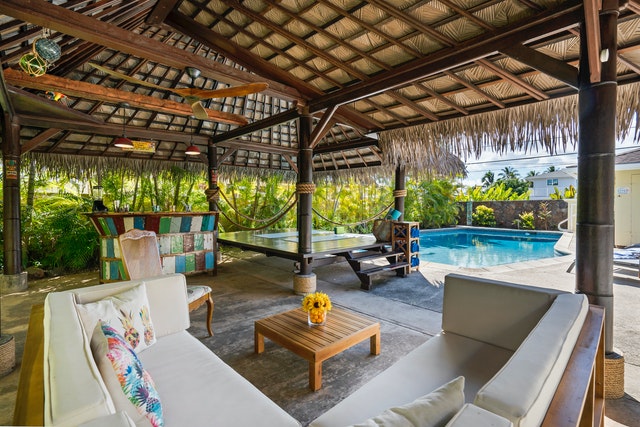 Concrete Patio Cabana
8 Comments
 Concrete Crack Repair Introduction: Concrete is a kind of material that made up of coarse and bonded together with a fluid cement. However, with time, crack appear in the concrete. But don't be worry about this, in this article we tell you about many new methods for repairing the cracks of pavement. The most common way that nowadays use for the concrete crack repair is an epoxy injection, routing and sealing, grouting, and stitching etc. Method for Concrete Crack Repair: Following are the method by which the crack of concrete quickly repairs, however, we can use each technique conditionally according to the break held in the concrete. Here are well-known methods for improving the cracks.
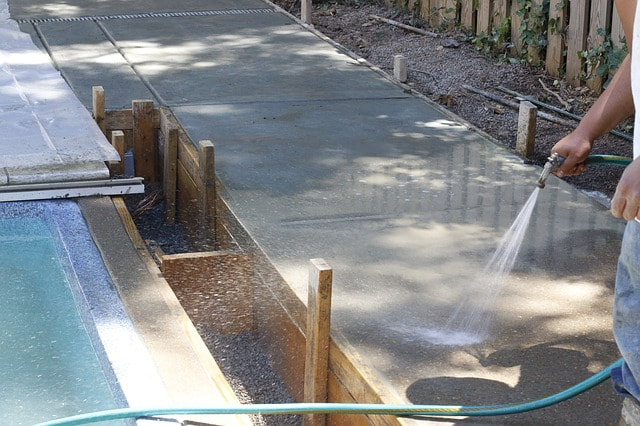
This type of repairing method used if the crack in the concrete is less than 0.002 inches, this kind method mostly beneficial for the buildings, bridges, dams and other structures. Sometimes it happens that due to the use of epoxy injection crack are still not repair on this case we further have two option for improving. One is very easy that is a rout and seal the blow like a treat with this crack as joint; however, if the crack is leaking then this technique is not useful. The epoxy injection contains a very straight and clear procedure that is talking below. Procedure for Epoxy Injection 1. Clean up the crack The very first thing is the cleaning of break which is contaminated from oil, grease, dirt or some particles. This contamination prevents the epoxy injection and bonding with reducing the effectiveness of the repair. So for this first, you have to remove the decay by vacuuming or flushing with water or other method are likeable to you. 2. Seal Out the Surface The reason for sealing out the surface is to keep the epoxy from leaking out as early as possible before it is gelled. You can seal out the surface by applying epoxy, polyester or other appropriate sealing material that sure to seal the surface of the crack. After sealing it, your epoxy injection made complete, and the repair went forever. Routing and Sealing of Cracks This method uses conditionally like remedial repair if required, or structure repair is not necessary. This method contains a lengthy procedure of exposing, filling and sealing the crack step by step with suitable joint sealed. However, this is a common technique that can be used easily. Still, it takes much time as well as much similar than that of epoxy injection. Crack Repair by Stitching This method consists of drilling and holes on both sides of concrete crack which is grouting in u shape metal unit. This method is secure than others, you have to make holes and clean them after that anchoring the legs of the staples in the trenches, and it will be repaired. Conclusion:These are the top well known and popular methods that use for the concrete crack repair. You can use all them but conditional dependable on the crack that is made. Please don't to forget for sharing the information with your friends and family. 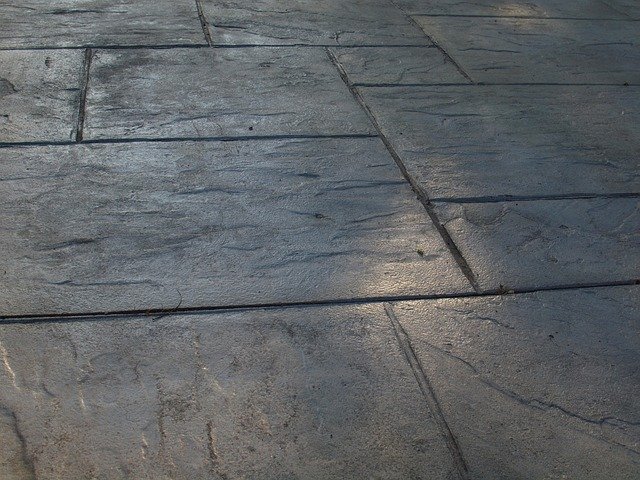 Walkway concrete crack repair 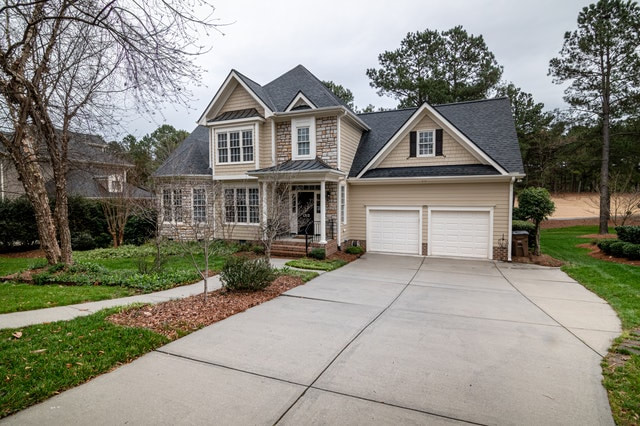 Introduction: A concrete driveway cost is one of the most famous and well-known construction that works with the material like bitumen or asphalt. It is also called a cement driveway, which gives several decorations and new fashion to the owners. Actually, the driveway is a path that makes unique, ultimate, colorful by the procedure of driveway installment. If we talk about the cost of driveway installment, we can say that it is nearly between the $5 and $7 per square fobot for installing. However, it has differed in cost due to differences in range or area like small, medium, and large. Let's take a look long and in detail way. Cost of Driveway Basically, the installment cost of driveway concrete is $5 to $7 per square foot. If you want to update it with some decoration and colors, it may range from $8 to $18. Hence one thing to note out that concrete must be the ideal choice for getting the look of stone or pavers. No doubt, it is not much costly and can be effort if you make it simple. As we know that designing opt and coloring is a kind of endless mode that gives us one design with sub new designs. One more thing for focusing is that the driveway's cost depends upon the area and location as well. The size of the project and the present value of labor and material that users are also an essential part of the project. So it is an advice for you that whenever you make understandable for the driveway, first move toward the near driveway contractor for an estimate. This thing tells you the budget you have and the total cost put on your probject. For helping you in the driveway budget, we divide the budget into three categories that tell you about the matching of your personality with one of the range. 1. Basic: Range of $8-$12 per square foot This is very first and an economic package that enhances your concrete driveway cost at a reasonable price. In this package, you got only one color method, either it integral or surface-applied. This set gives you the textured concrete finish all over like broom finish, etc. It gives you the exposed aggregate with a basic stencil or border making in the same budget. 2. mid: Range of $12-$18 per square foot This package is one setup up with more updates and gives you more elaborate decoration with new contrasts and patterns. It gives you the opportunity of choosing two or more colors with a contrasting border. 3. High: Range of $18 and per square foot This is the last and the most updated form in which you can get all kinds of decoration with the hand-applied chemical. It gives you multiple scoring patterns with stain colors. Conclusion: As you see the price range and the driveway's cost, it is now straightforward for you to get an idea about the driveway in your budget. Hope you like it, please share it before leaving this article. 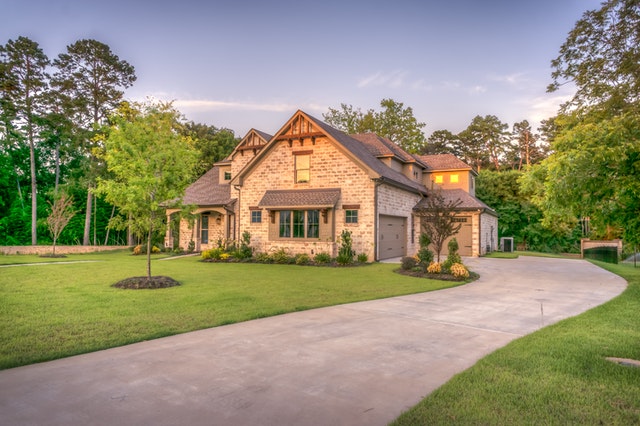  Concrete Pool Deck Resurfacing This article go over the best pool deck coating options, color options, and how much pool deck resurfacing will cost. If you're getting tired of the look of your old pool deck and want something new without spending too much money, then resurfacing it is the best option. The overlay is a thin layer of cement, sand, polymer resins, and other additives to repair and update concrete surfaces. There is no need to tear down or pour new concrete but the end result is a like new finish.
WHAT IS THE BEST POOL DECK COATING? These are the options for resurfacing your pool deck:
WHAT CUSTOM COLORS ARE AVAILABLE? One of the best things about resurfacing is that it allows you to personalize your pool deck. Popular colors for pool decks include shades of brown, tan or gray that blend well with the natural surroundings. The myriad of color choices means you can make it uniquely yours and as bold as you want. These are some of the coloring options:
WHAT IS THE COST TO RESURFACE A POOL DECK? Resurfacing your pool deck will be more economical than having it demolished with a new pour. Basic pool deck resurfacing costs $3-$5 per square foot, as opposed to $6-$10 per sq ft to pour a new surface before customization and any decorative options are accounted for. It might seem an easy job, but it is highly recommended that you find a knowledgeable and experienced contractor to make sure the project is done correctly. HOW DO YOU RESURFACE A POOL DECK? Concrete overlays can be trowel applied or sprayed on to most sound concrete surfaces. Some systems can also be stamped or stenciled to achieve the same patterns possible with new concrete. Here are the steps you can expect when your contractor is resurfacing your pool deck:
 An option for outdoor kitchens that most people don't know about is casting fiber optic cables directly into the concrete countertop. The creative design effects are only limited to your imagination and will make your outdoor patio a one of a kind that will impress your guests.
What are Fiber-Optics? Most people hear about fiber-optics whenever people talk about telephone lines, television cable and the Internet. Fiber-optic lines are thin strands of optically pure glass or plastics that are capable of carrying light and/or digital information over long distances. In this application, we just need to use it for it's light carrying properties. How it works is the light is refracted internally through the cable which allows it to bend and still pass the light from it's source which is the illuminator. What is an Illuminator? The illuminator is a box with a bright halogen light and a bundle of fiber optic cables held in place directly in front of the bulb. The bright white light is carried down the cables to create hundreds of points of light from just the one bulb. A typical illuminator will hold 250-350 fibers depending on how thick the fiber strands are. Options for different color wheels or sparkler wheels will make different effects as they spin in front of the white light bulb which changes the colors at the other ends of the fibers. Standard colors are green, white, magenta, and blue, but can be special ordered in custom color blends to get a unique look. Sparkler wheels are used to create a twinkling starry sky effect because as it turns, the amount and location of the white light varies so the fiber ends fade and glow like the night skies. Unique Effect: Why Fiber-Optic Lighting Does Not Produce Uniform Results Because of the process and the variability of the materials used, homeowners must be aware that each countertop will be unique and original. The differences in the glass pieces and the fiber cables can make some areas brighter than others and the effects can't not be 100% predicted. Homeowners must be comfortable beforehand with this because once it's done, it's hard to change. There are two primary approaches to lighting counters with fiber-optics. The first is to place the cables through the finished surface so that at the end of the polishing process, the exposed cables are nice and bright. The issue with this can be that the light can shine directly into the viewer's eye which can be uncomfortable. The other method is to glue the ends of the cables to pieces of glass which diffuses the light to produce a subtle glowing effect. Step 1: Set Your FormsSet your forms in place and prep the counter. Step 2: Glue Fibers To Glass PiecesRun fiber-optic cables up through the bottom of the forms and spread out the ends of the cables randomly. Use a hammer to blunt the ends of the cables to roughen them. There are two reasons for doing this. First is to helps the cables stick to the glass pieces and secondly it diffuses the light at the end of the fiber. With a hot glue gun, attach strands of cable to chunks of glass. For smaller or lighter pieces of glass, use 1-2 cables and use 2-4 cables for larger or darker pieces of glass. Step 3: Set Cabled Glass To Counter HeightUsing a very dry, low slump concrete mixture with acrylic fortifier, place the cabled chunks of glass on cones of concrete just slightly higher than the counter finish height. Repeat the process until all glass chunks are set securely in place. Whatever the placement, either random or formal, be sure that is the final desired design. Step 4: Cast the concrete counter Pour and cast the counter. Step 5: Cure the concrete Let the concrete counter fully cure between 7-18 days. Step 6: Grind Off Any Excess Glass Remove the excess glass using a single head grinder above the finish grade of the concrete counter. Step 7: Finish Grind, hone and polish the counter to the desired finish. Step 8: Seal the counterSeal the counter for easy cleaning and durability. |
AuthorThe author is an entrepreneur and freelance digital nomad based in Bangkok. Archives
August 2020
Categories |
 RSS Feed